How to upload files in React

As of 2023, React was the second most popular web technology, solidifying itself as an invaluable technology for any developer to have in their arsenal. As I'm sure every developer who has used React will tell you, file uploads can provide a few hours of head-scratching entertainment. Thankfully, Uppy and Transloadit provide a powerful and user-friendly solution to simplify file uploads in your React applications. In this blog post, we'll take a plunge into how you can easily integrate Uppy with Transloadit to handle file uploads with ease.

Uploading files in React with fetch
In traditional file upload scenarios, you might use the fetch API to handle uploads in React.
Here’s a basic example of how you can achieve this:
const [message, setMessage] = useState()
const fileInputRef = useRef(null)

const handleFileUpload = useCallback(async () => {
  const fileInput = fileInputRef.current
  if (fileInput && fileInput.files.length > 0) {
    const formData = new FormData()
    formData.append('file', fileInput.files[0])

    try {
      const response = await fetch('https://httpbin.org/post', {
        method: 'POST',
        body: formData,
      })

      if (response.ok) {
        setMessage('File uploaded successfully')
      } else {
        setMessage('File upload failed')
      }
    } catch (error) {
      setMessage('Error uploading file:', error.message)
    }
  } else {
    setMessage('No file selected')
  }
}, [])

return (
  <>
    <input type="file" ref={fileInputRef} />
    <button onClick={handleFileUpload}>Upload</button>
    <br />
    <span>{message}</span>
  </>
)
However, this approach comes with its downsides. While simple, it is a little too simple, and it lacks advanced features, like third-party integration, loading states, upload retries and more, that users have more or less come to expect. Luckily for us, there's a better way – time to introduce Uppy!
What is Uppy?
Uppy is our open-source, modular file uploader that integrates beautifully with any web application. For our purposes today it offers an easy-to-use dashboard that lets users upload files from whatever source of their liking, to whatever destination of their choosing. Uppy allows you to choose what uploader you want to use, including the resumable file upload protocol Tus to upload your files with built-in fault tolerance. This means that your file uploads can be relied upon by your users, even from the most remote locations.
Getting started with Uppy and Transloadit
With introductions out the way, let's begin our tour through the process of integrating Uppy with Transloadit in order to handle file uploads in a React application.
Step 1: Install Uppy
First, you'll need to install Uppy and the Uppy Transloadit plugin. You can do this using npm:
npm install @uppy/core @uppy/react @uppy/transloadit @uppy/dashboard
Step 2: Set up Uppy in your React component
Create a new React component for your file upload functionality. Here's a basic setup for Uppy in a React component:
import './styles.css'
import React, { useState } from 'react'
import Uppy from '@uppy/core'
import { Dashboard } from '@uppy/react'
import Transloadit from '@uppy/transloadit'
import '@uppy/core/css/style.css'
import '@uppy/dashboard/css/style.css'

function FileUpload() {
  const [uppy] = useState(
    () =>
      new Uppy({
        restrictions: { maxNumberOfFiles: 1 },
      }),
  )

  uppy.use(Transloadit, {
    async assemblyOptions() {
      // Fetch your options from your backend
      // Make sure to generate your secrets on your backend too
      const res = await fetch('/transloadit-params')
      return res.json()
    },
  })

  uppy.on('complete', (result) => {
    console.log('Upload complete! We’ve uploaded these files:', result.successful)
  })

  return (
    <div>
      <Dashboard uppy={uppy} />
    </div>
  )
}

export default FileUpload
Step 3: Configure Transloadit
To use Transloadit with Uppy, you'll need to sign up for a
Transloadit account and create a Template. This Template will define the
processing Steps you want Transloadit to perform on your files. Once you've created your
Template, you'll get a TEMPLATE_ID that you can include in your Uppy configuration.
Step 4: Use the component in your application
Finally, use your FileUpload component in your React application:
import React from 'react'
import ReactDOM from 'react-dom'
import FileUpload from './FileUpload'

function App() {
  return (
    <div className="App">
      <h1>React File Upload with Uppy and Transloadit</h1>
      <FileUpload />
    </div>
  )
}

ReactDOM.render(<App />, document.getElementById('root'))
It's as easy as that! You now have access to a fully-fledged file upload solution, in roughly the same amount of lines as a traditional HTML file uploader.
Next steps
Of course, we're not going to finish this blog without showing you a side-by-side comparison. In the example below, you can see both approaches compared against each other, which makes the difference even more stark.
File upload using fetch
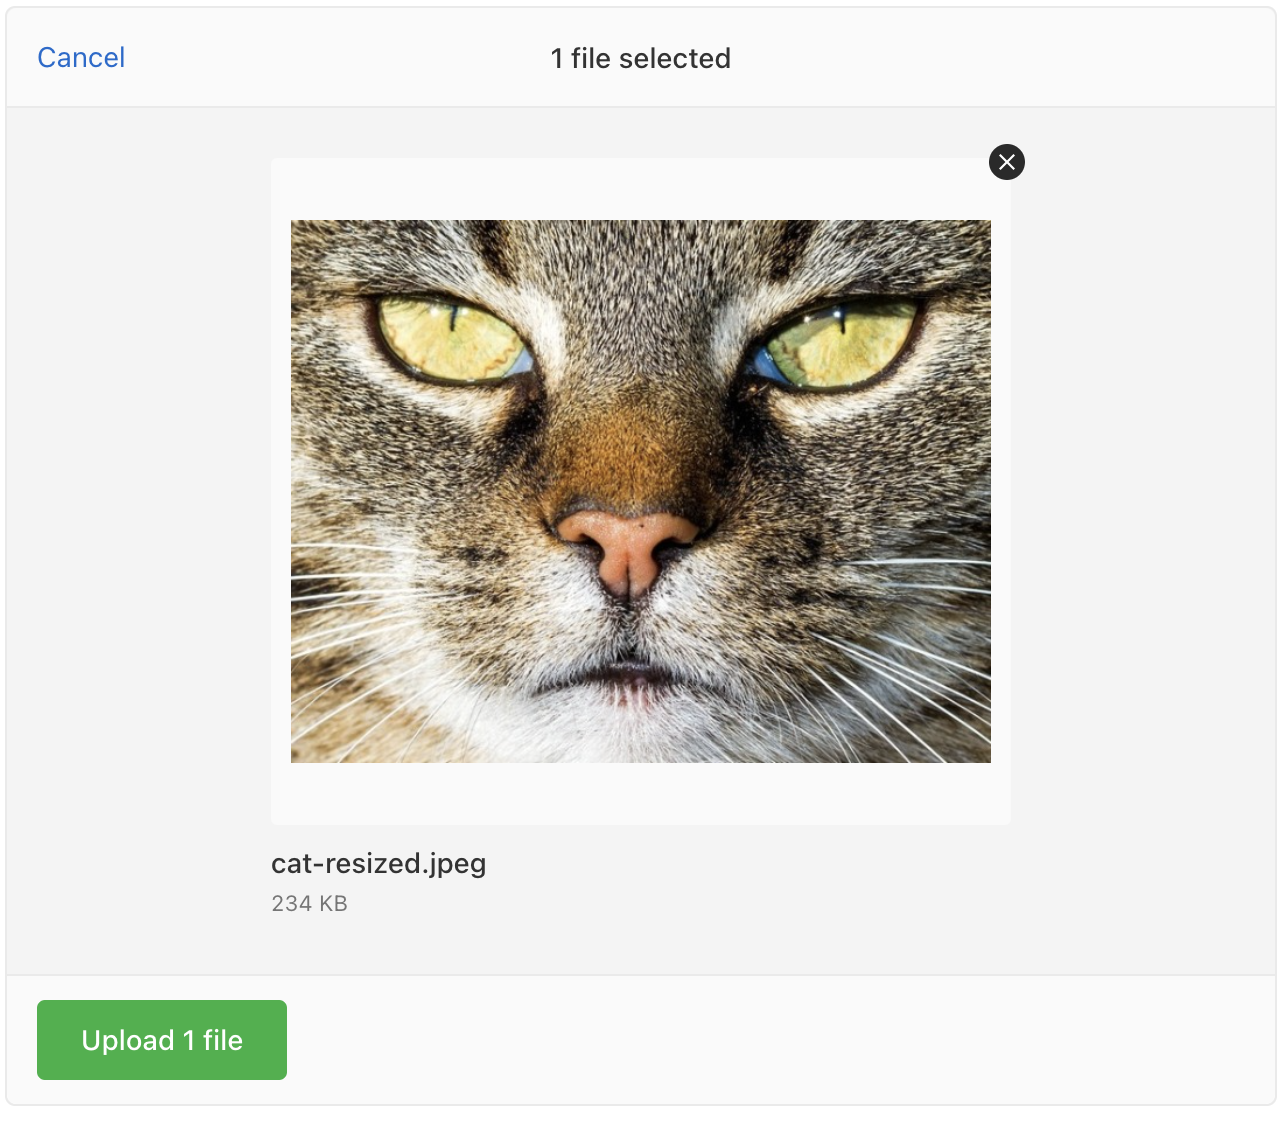
File upload using the Uppy dashboard
We'll leave it up to you to decide which of the above to use. Should you end up using Uppy, we recommend checking out the quick start page to get you rolling.
Ready to get started with Uppy and Transloadit? Sign up for Transloadit today and take advantage of our free forever Community Plan. Our outstanding support team is here to help you every step of the way.
If you have any questions or run into any issues, feel free to reach out to us at support@transloadit.com. Happy uploading!